
LEDs, An Upgraded House Bank, And a PSA About Proper Charger Cabling
So as the winter has been wrapping up, I’ve been down at the boat working on small projects. The first of which was upgrading the  remaining interior lights to LED. As I mentioned before, I upgraded the main cabin’s 10w overhead halogen bulbs with X-Beam LED modules from Imtra last summer and the two heads got red/white switchable LED’s that work with existing light switches. These dual-color modules are really cool because they always come on red first, and you can switch them to white as needed by just switching them off and on again quickly. Great for night-time use.
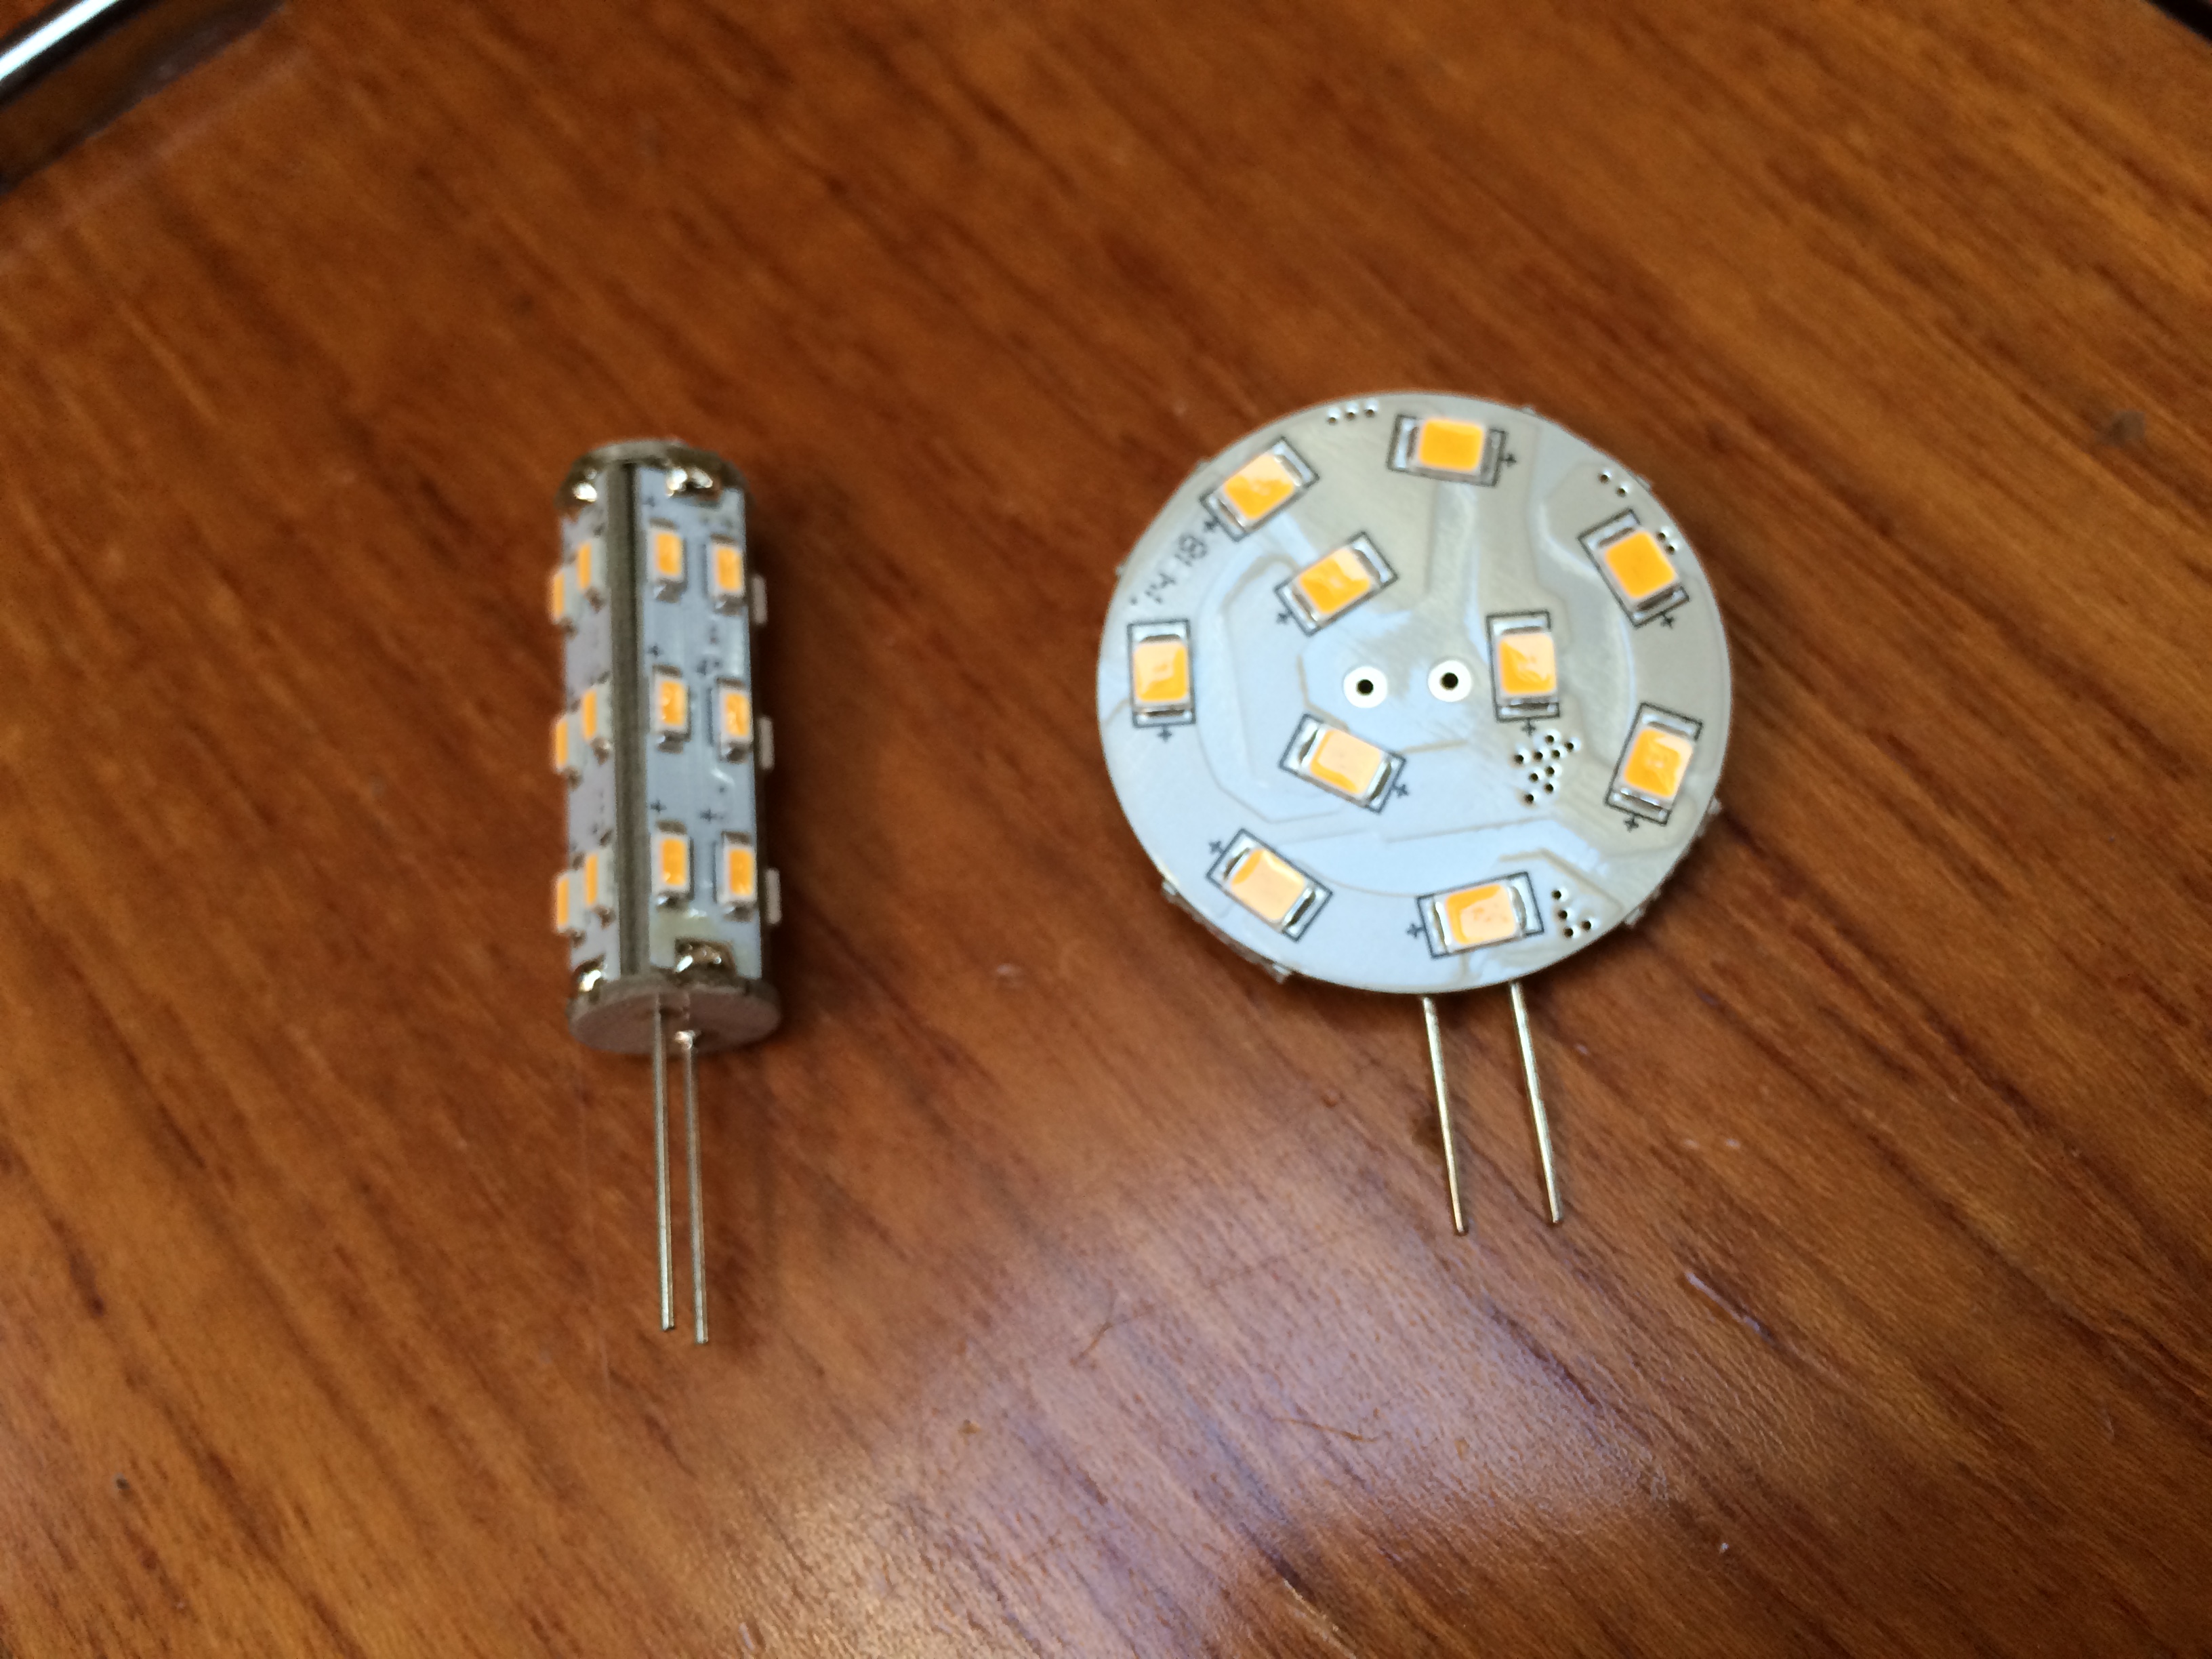
So this spring I searched around and found what appear to be nearly the same lights as the Imtra ones but from Marinebeam.com at a slightly lower cost. I had also been searching everywhere for an LED bulb that will fit in the little swivel lights at the nav station, galley, vanities, and settees. I tried a couple that looked small enough but  they didn’t fit. I finally found what appeared to be a narrow enough module on Marinebeam.com and ordered one to test fit. It worked great so I bit the bullet and ordered enough of both the overhead and rail modules from Marinebeam.com to cover the whole boat. Totaling 24 bulbs including the ones I had already replaced last summer.
Meanwhile I finished installing the Victron battery monitor into the nav station panel and was looking into what batteries would make the most sense to upgrade the house bank this summer.
 I received all the bulbs from Marinebeam and set aside some time on March 8th to install them all. I started from the front and fixture-by-fixture replaced every bulb. At one point near the end I shut down the charger to check the power draw of the lights with the Victron and about 15 seconds after I did that, everything went dark.
  NOT GOOD!… House bank voltage showed 9V on both the factory meter and the Victron. With the charger powered back on everything works fine and for about 15-20 seconds after turning it off it’s all okay, then bam! – Black! Ugh, at least one of the three house batteries in the bank had to be toast. This of course re-prioritized the battery upgrade to the Spring instead of Summer. I had a particular battery in mind, but they were not yet available because Trojan had just announced them. I didn’t want to wait two months so the Trojan reseller suggested looking at Full River batteries that were the same size (Group 12), had the same capacity rating as the Trojan’s (150ah each), were a bit cheaper, and were in stock. After reading as many comments in online forums as I could find about Full River, they seemed like a decent battery manufacturer so I went for it.
 On March 22nd Devon and I got on the boat and I set about removing the old batteries, fitting in the new ones, and re-running the cables. Here’s where things got a bit interesting. Our boat has a factory installed battery charger (a Cristec unit) as well as an aftermarket Xantrex Freedom Marine inverter/charger. I’m not sure why it was done this way or who installed it, but the Xantrex was not wired to the battery bank properly and this contributed to the battery banks’ demise. To explain…
 In a parallel battery bank, you connect the +’s of each battery together, and the –‘s of each battery together, and then treat the whole bank like a single battery, connecting the loads and chargers across the bank. Ie: + on a battery at one end of the bank, and – to the battery at the opposite end. This way the charging and loads both work across all the batteries in the bank. This is not how ours was done.
 In the case of our boat, the factory wiring for the boat circuits and the Cristec charger were wired appropriately, but both wires for the Xantrex were attached to just one battery in the bank.
What this does is cause more load to affect one battery compared to the others, and charging cycle ends up being controlled by sensing voltage and amperage draw of just that one battery vs. the bank as a whole. The result is that the other batteries in the bank never get fully charged.
After I removed the old batteries from the bank, I checked voltage on each one and you can see how this affected them.. Remember that these are 12V rated batteries.
 2V and 4V measured after sitting on a charger all winter! Toast! Always make sure you are wiring your boat (or anything for that matter) correctly for your combination of equipment.
 While putting the new batteries in I took the time and re-wired the Xantrex correctly. I had to physically move the fuse to the opposite battery box but that was pretty easy. So now the new batteries are in and we have WAY more capacity than we used to have, plus the charging should be much better as well. In reality, I think we only had the effective capacity of one battery before, and now we have the full bank, plus the new batteries have double the rated capacity (150AH) vs. the old Optima batteries (75AH) in the same physical space.
Oh, and now that we are full LED, I checked power draw to compare with before. With all lights on, outside and inside, we draw just about 3 amps where before we’d be using 28 amps. That’s a pretty big difference in a boat where power comes at a premium. Think of it this way… For $300 in LEDs, we saved up to 25 amps of power draw, at an average of 4 hours a day that’s 100 amp-hours of consumption per day saved. We’d need 2 more batteries (at $400 each) to account for that draw, and more fuel to charge those batteries each day. Well worth the cost of the LEDs.


Can you include a diagram of the correct wiring you used in the end?
Added.. I had intended to include that, but somehow forgot to include it.
actually the middle battery is still less used than th 2 outer ones
this article describes it brilliantly
http://www.smartgauge.co.uk/batt_con.html
Thank you for this.. This is really interesting information as well.